Account Provisionning
We strongly recommend enabling account provisioning. It simplifies deployment by removing the need to recreate users manually and adds an extra layer of security.
Goal
Configure automatic user provisioning and synchronization between Microsoft Entra ID (formerly Azure Active Directory)/Google Workspace and Galink. The exemple is with Active Directory but it is similar with Google Workspace
Prerequisites
Administrator access to Microsoft Entra ID
Administrator access to Galink
If you do not have the required permissions in Entra ID:
The simplest approach is to involve someone from your IT department who has administrator rights in Entra ID and add it temporarily. They will need to log in and activate the integration on your behalf. After, you can remove them from Galink
Setup Steps
An IT administrator must log in to the Galink platform.
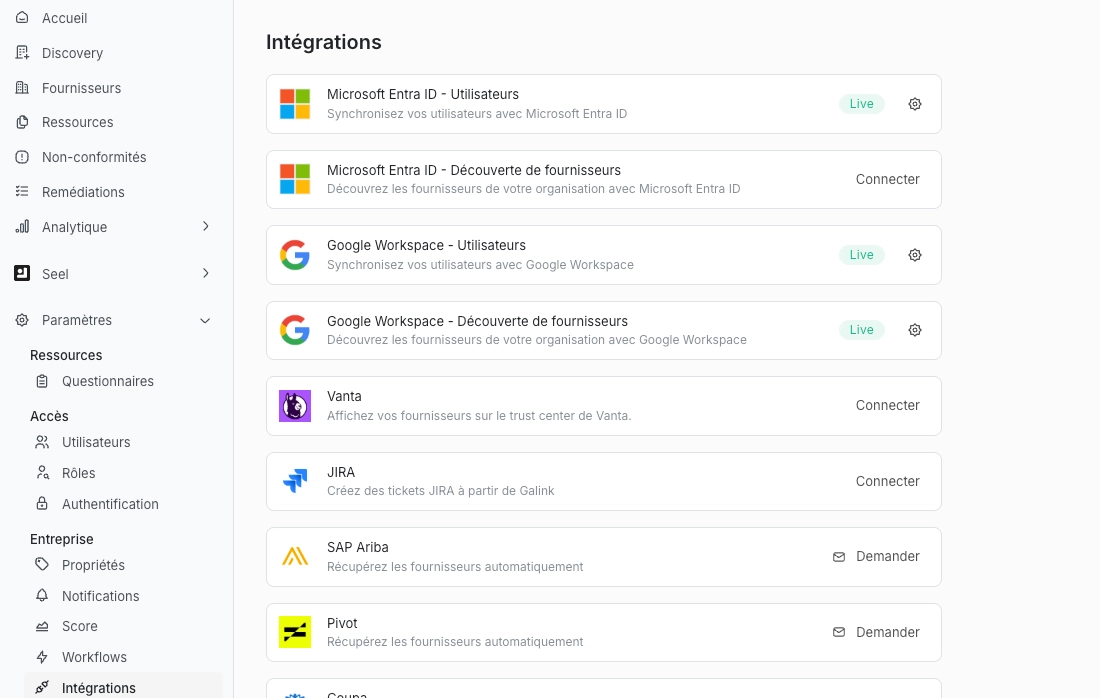
Activate the Entra ID Integration: Go to: Settings → Integrations → Entra ID <> Users
Click on the integration and activate it.
A Microsoft authentication window will open automatically.
Approve Required Permissions. The administrator must approve the requested permissions to allow Galink to access and synchronize users from Entra ID.
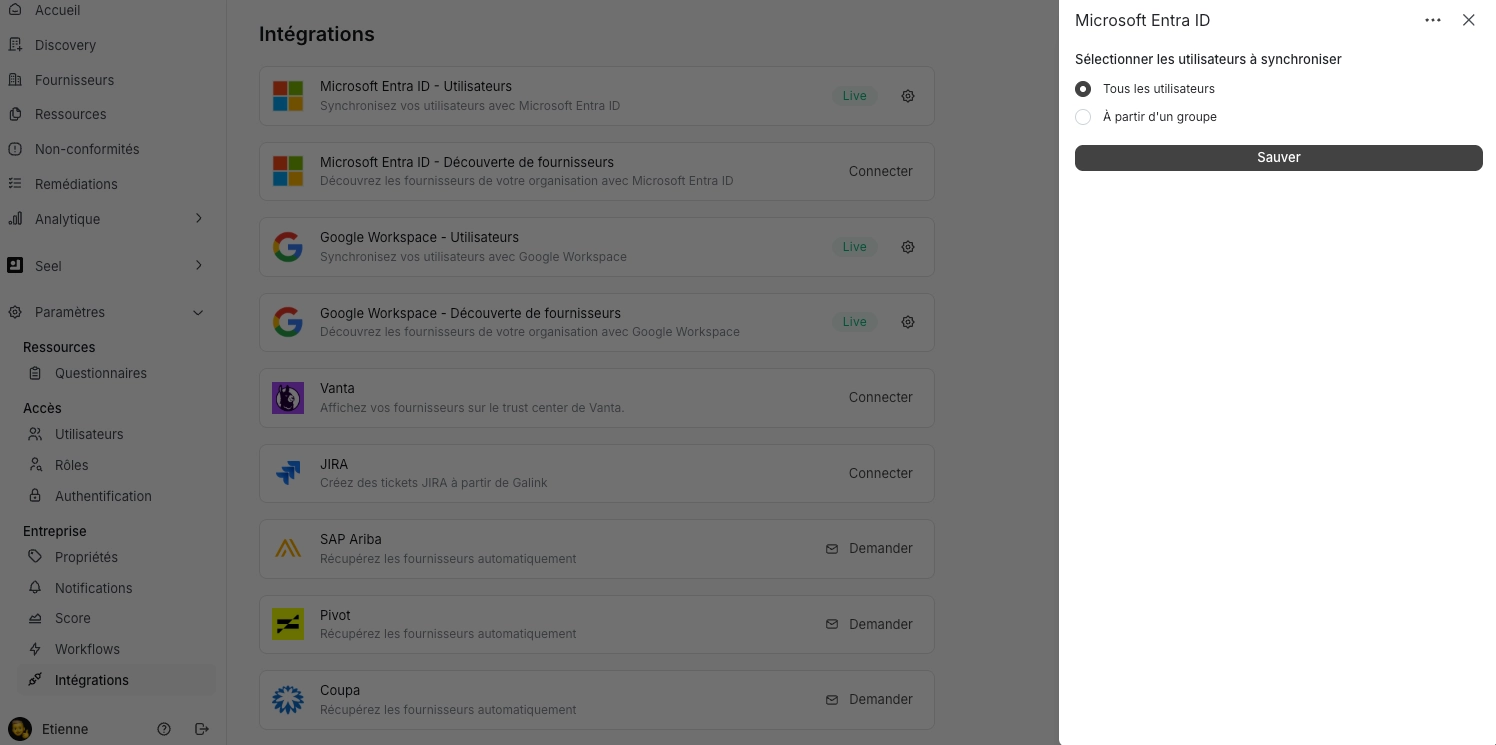
Select the User Scope: Once activated, you can choose to synchronize:
All users
A specific Entra ID group (recommended)
That’s it
Result
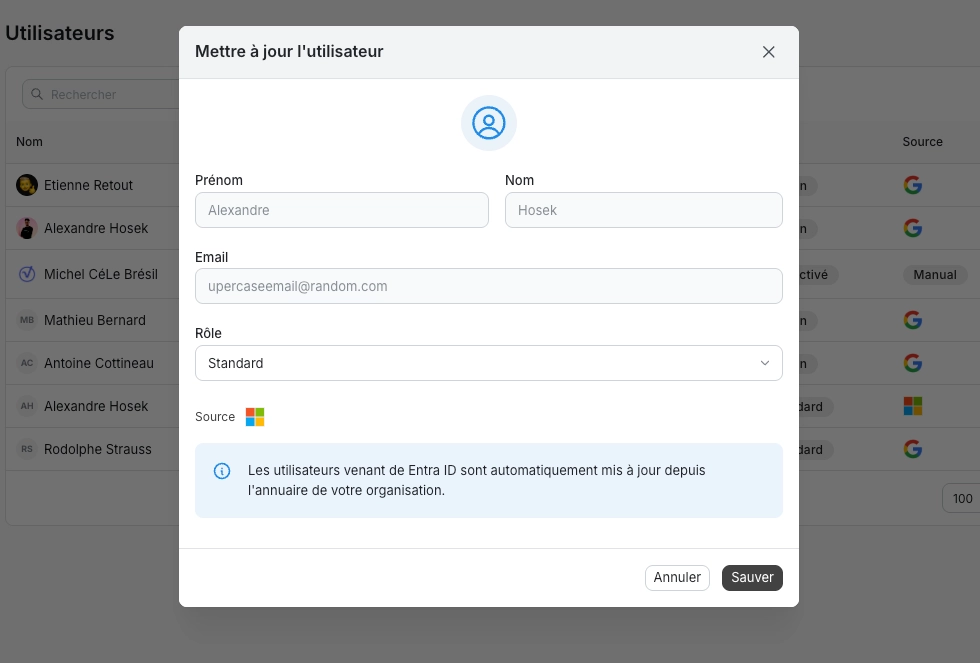
For all synchronized users:
The source will be displayed as Microsoft Entra ID
User profile attributes (such as profile photo) will be managed by Entra ID
These attributes will no longer be editable directly in Galink
This ensures centralized identity management and consistency across your organization.